


Hello Every one in this blog I would like to explain what is Jenkins and for what it is used. Here I want to just explain basics and further in my future blogs. .
What is Jenkins
Formally Jenkins is a CI/CD automation tool , which means continuous integration and continuous deployment . Jenkins is a software installed on the dedicated server because of this we don't need to manually test ,build push ,deploy,sending notifications to team, instead Jenkins does all this for us.
Continuous integration -> When ever new commits made to code Jenkins automatically recognizes and tests ,builds the code.
Continuous Deployment -> After build it deploys code to container registry.
If containers are deployed/ want to deploy across different severs we manually don't need to ssh into different servers instead Jenkins automatically deploys into different servers.
To make our workflow automatic Jenkins needs to be configured with Github/Gitlab , private or public container registry.
Installing Jenkins as a Container on EC2.
First ssh to EC2 conatiner by
ssh -i [location of .pem file] [username ]@Public IP add //User name depends on OS of EC2 if it is Amazon Linux then ec2-user if it is ubuntu then user is ubuntu.
Then install docker by sudo apt install docker.io.
Pull Jenkins Image and run ,it runs in port 8080.
Ex:
docker run -d -p 8080:8080 Jenkins/Jenkins
We have to mount volume on host to container so that any thing we install o jenkins container do go in vain by .
docker run -d -p 8080:8080 -v jenkins_volume:/var/jenkins_home Jenkins/Jenkins
Any thing we install on Jenkins container will be present in /var/jenkins_home when we stop all those installation will be present in jenkns_volume on host.
Now we can view jenkins in browser with public IP and port .
172.90.87.76:8080 // This is My public IP of Ec2 server
Jenkins UI
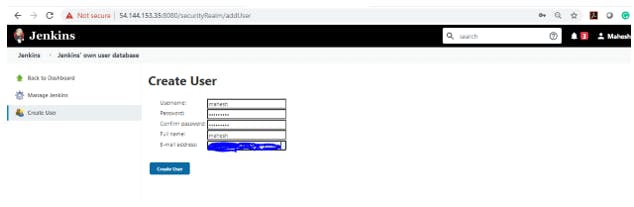
Mention password in initialAdminPasswd file and then change usrname and psswd.
Install jenkins suggested plugins then we can install what we need from manage plugins.
We create Jobs in Jenkins.
Select freestyle job for practice and connect with Github/Gitlab by proving credentials.
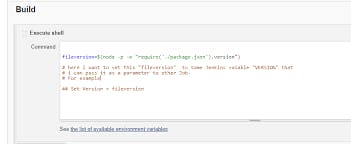
From Execute Shell we can control what jenkins has to do,then we need to save and click build now .
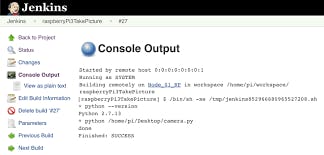
Our first Job was successfully created .
Result of build job can be viewed from console output.
Pushing React app to Docker hub
To push we need docker in Jenkins Container as well for that there are 2 ways
Installing normally by sudo apt install docker.io
Mount docker run time executables from host server to container by inserting
-v /var/run/docker.sock:/var/run/docker.sock -v /usr/bin/docker:/usr/bin/dockerwhile running containe.Instead of installing docker on server.
After connecting to Github in execute shell run:
docker build -t img_name:version docker file loc
docker login -u username password
docker push img
After building this job image is pushed to docker hub this may even be pushed to private registry by default docker pushes to docker hub by providing necessary credentials while pushing docker pushes to other registries like Nexus,ECR .
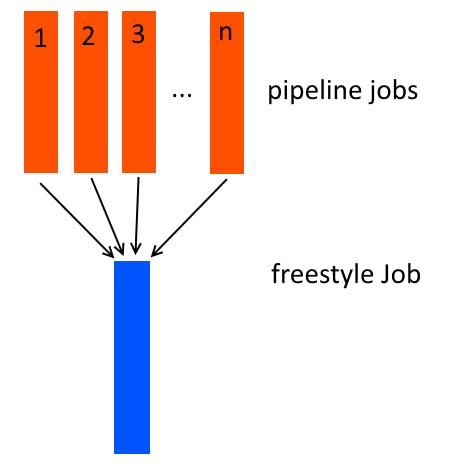
FreeStyle V/S PipeLine
Free style jobs are preferred for single task and Pipeline jobs are for multiple tasks.
Like if we want to build test we need to use execute shell 2 times and install necessary plugins it is called as chaining free style jobs ,freestyle jobs are handled using Jenkins UI but Pipeline jobs are managed using script file in project and more over free style jobs are not preferred when we have user inputs or some conditional statement but Pipeline was preferred for this as it is managed by programming language.
Chaining a freestyle job is more difficult to manage than Pipeline jobs.
That's it this is my basic introduction to jenkins if you find any thing wrong please let me know .Thanks for reading my blog 😎😎